Friday, October 19, 2018

Battle for the Samski Factory

My friend Sam hosted a Stalingrad scenario using the new City Fight rules at Outflank Games in Fairfield, 50 points per player.  Seven of us battled for the 'Samski' factory and the surrounding area on a double length board, and I had the honor of leading the assault on the big industrial complex.

The Factory, held solidly by Clive's Soviet Hero Strelkovy supported by ZIS-2 guns and HMGs.
Attacking from the outskirts would be Russ's traitorous British Rifles and Brian's Panzerkompanie.
My Grenadierkompanie would attack from the industrial side.
After a barrage from my off-board nebelwerfers knocked out the two ZIS guns, my infantry started to make their push for the factory.  
Grenadiers and Assault Pioniers prep for the assault, supported by StuGs and armored cars.
Defensive fire would keep my Grenadiers from assaulting the east side, but the Assault Pios break through on the south side.
Subsequent assaults would see both of my units make their way into the assembly area floor of the factory.
The Grenadiers would hold their position against the Soviet counterattacks, while my Pios made their way upstairs, knocking out several HMGs.
Soviet forces were down to a few stands and pulled back to the northwest room of the complex.  My troops push the attack.
Russ' British finally link up with my StuGs outside the factory after he took massive casualties after attempting assault the complex.
This was super fun and it was nice to team up with Russ for a change.  He brought the wrong army so was stuck helping out the Axis.  The Soviets inside the factory eventually surrendered, and on the other board a massive Soviet armored force was held up by some stubborn Italian defenders supported by Panzers, but enough of them got through that they were in a good position to retake the factory eventually.  Thanks for hosting this Sam!


Friday, October 12, 2018

Rebel Hit and Run

Kevin and I finally got another game of Armada in!


I brought a similar force to what I took last time:

MC80 Battle Cruiser
    -Mon Karren
    -General Dodonna
MC30c Scout Frigate
    -Redundant Shields
    -Assault Concussion Missiles
MC30c Torpedo Frigate
    -Assault Proton Torpedoes
GR75 Combat Retrofits
B-wing Squadron
B-wing Squadron
X-wing Squadron (Luke Skywalker)
X-wing Squadron
X-wing Squadron
Y-wing Squadron

Kevin had a pair of Victory-class Star Destroyers, a Gladiator-class Star Destroyer, a Raider-class Corvette, IG-88, and a ton of TIEs.

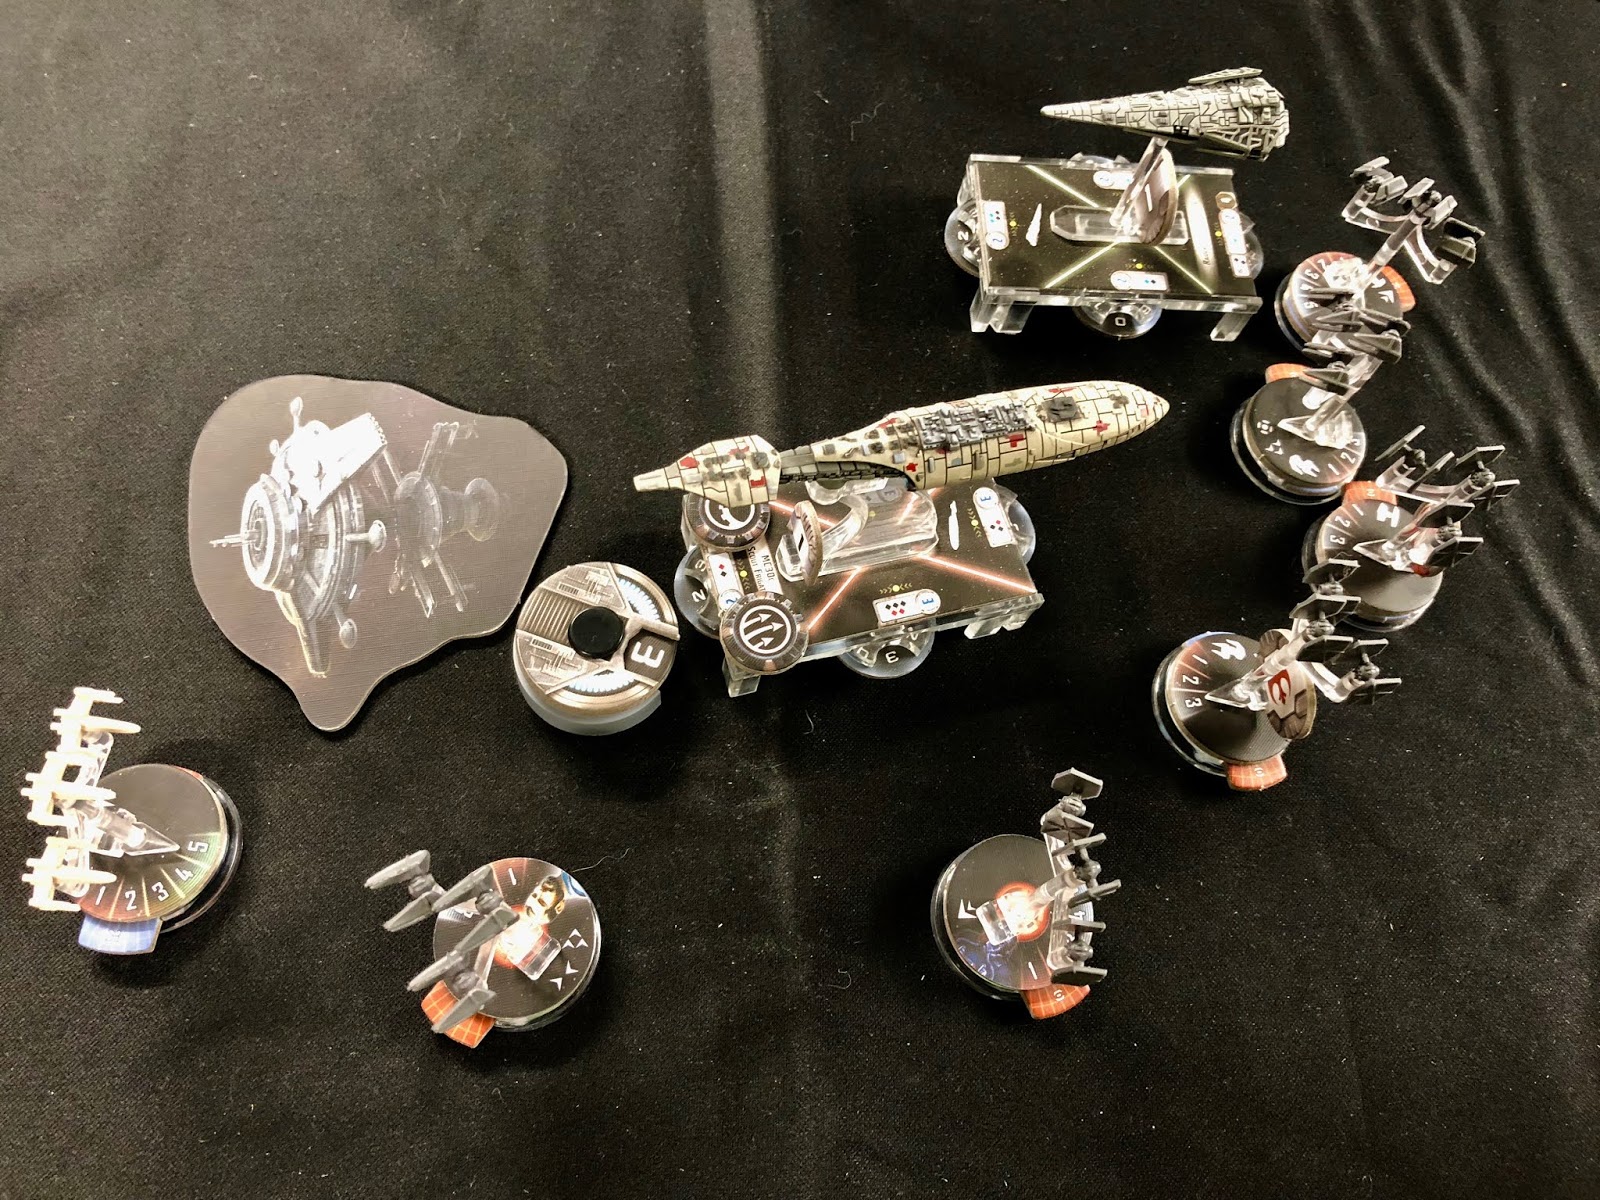
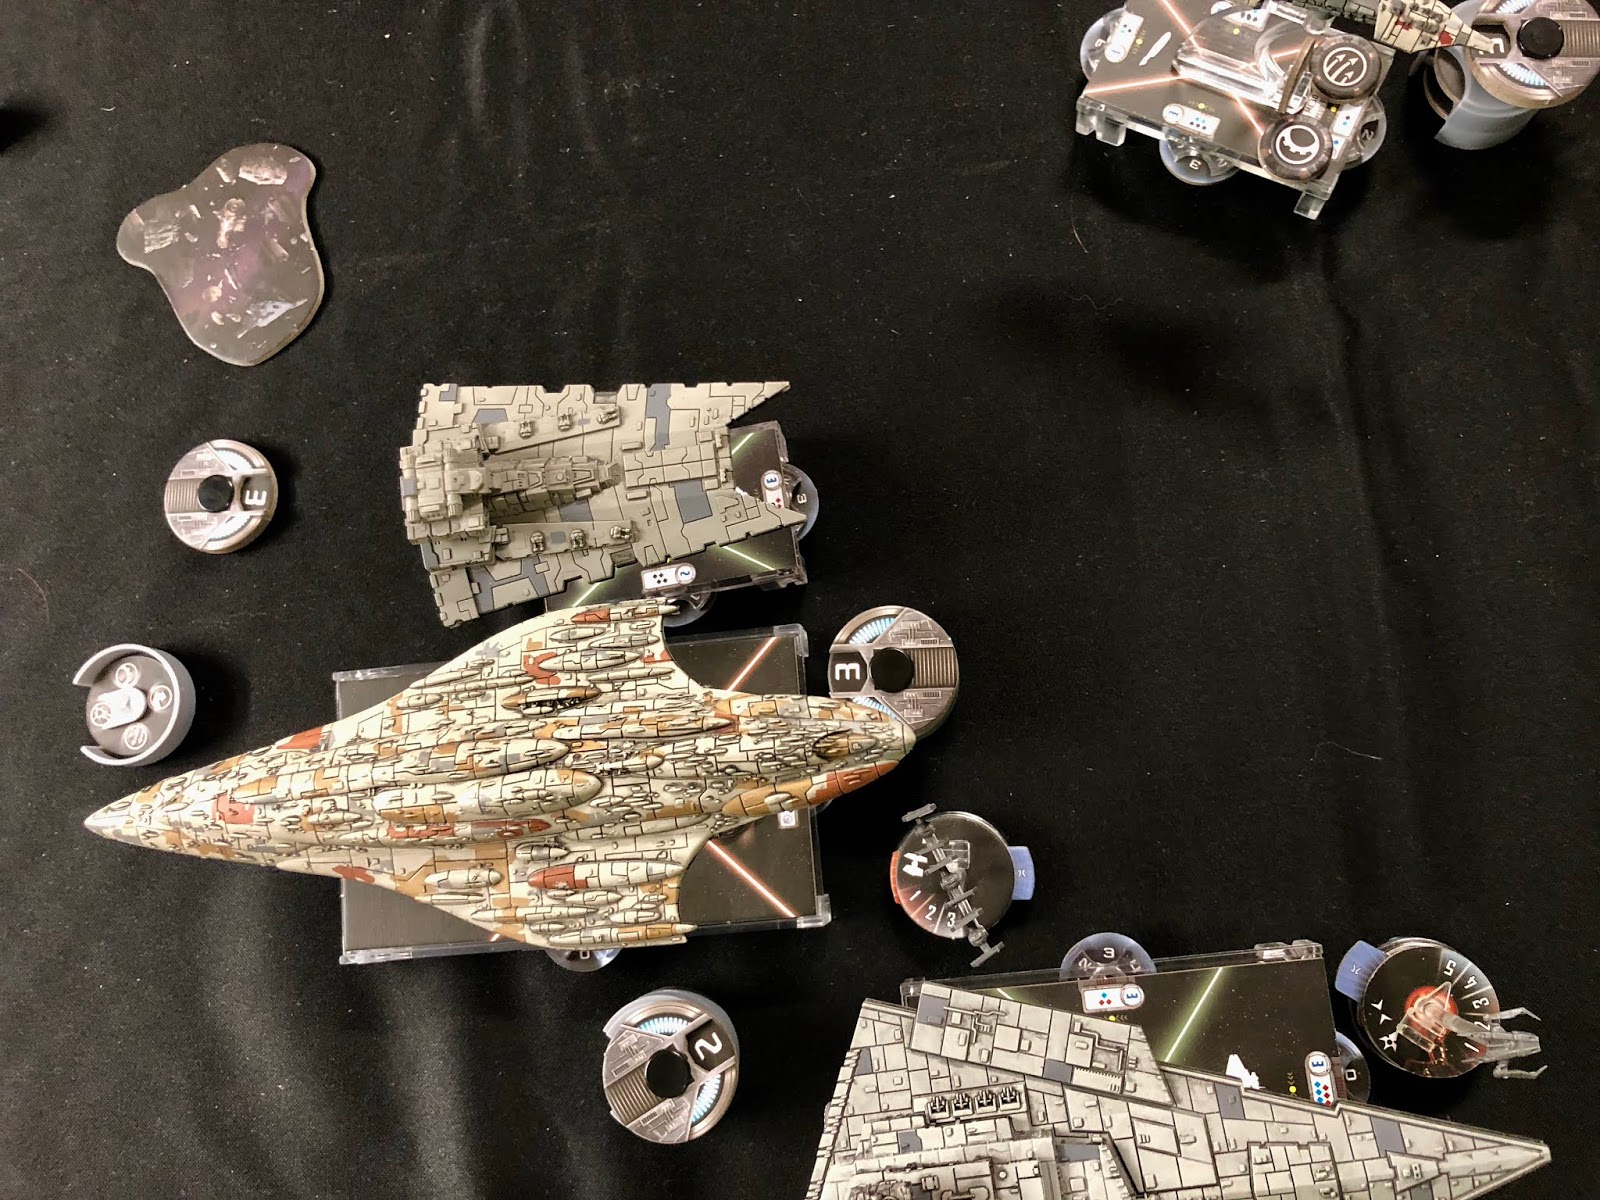
Mon Karren and her escorts deploy in a broad line, with fighters and attack bombers close behind.
The Empire deploys her fighter screen well forward, reaching my forward elements before my X-wings can reach them.  The Raider-class takes heavy damage from a barrage of assault torpedoes. 
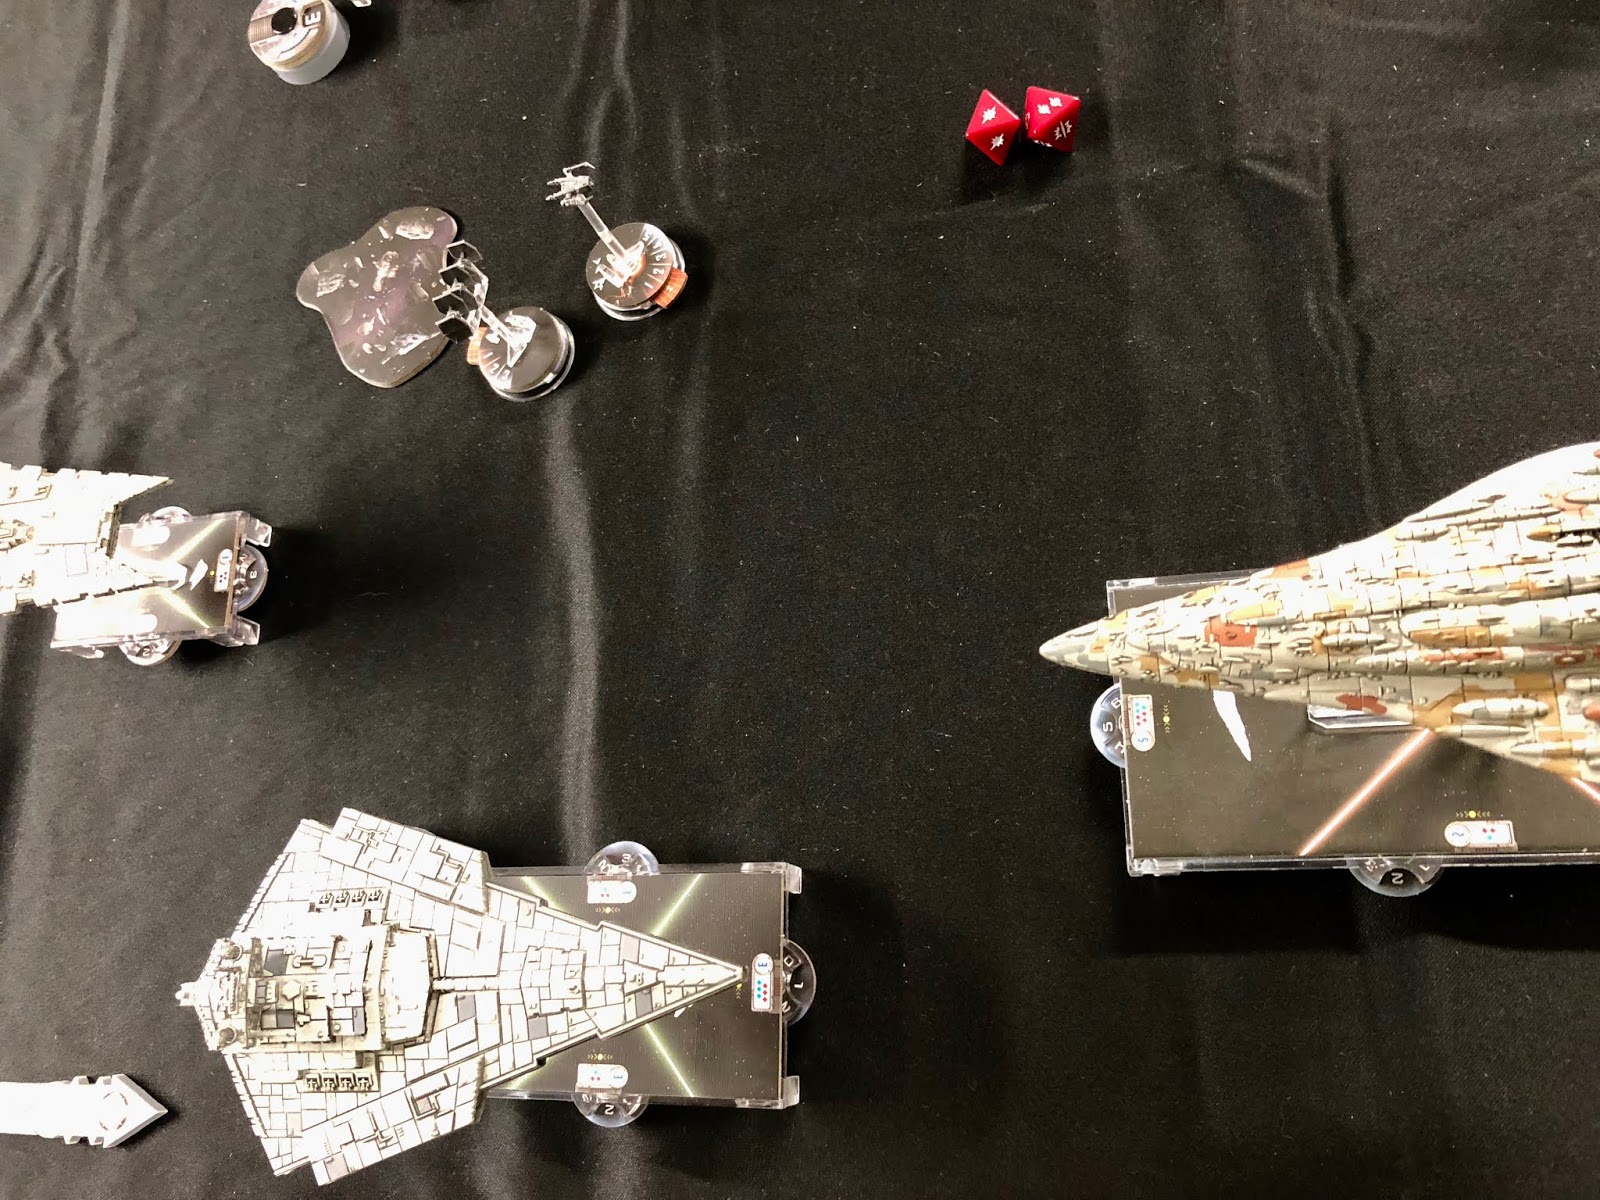
Mon Karren engages a pair of Star Destroyers alone, battering the Victory-class.
The situation after three turns.  The second Victory-class closes on the MC30 frigates.  The Raider is destroyed soon after.
Mon Karren narrowly glides past the pair of Destroyers, but her shields are heavily damaged.
TIEs make repeated runs on my MC30, but it holds fast.
The Imperials escape any more major damage, while shooting down most of the Rebel fighters.  
Total losses amounted to a Raider-class Corvette and a TIE Fighter squadron for the Empire, and four squadrons of fighters lost, including Skywalker's for the Rebels.  52-57 Imperial advantage.